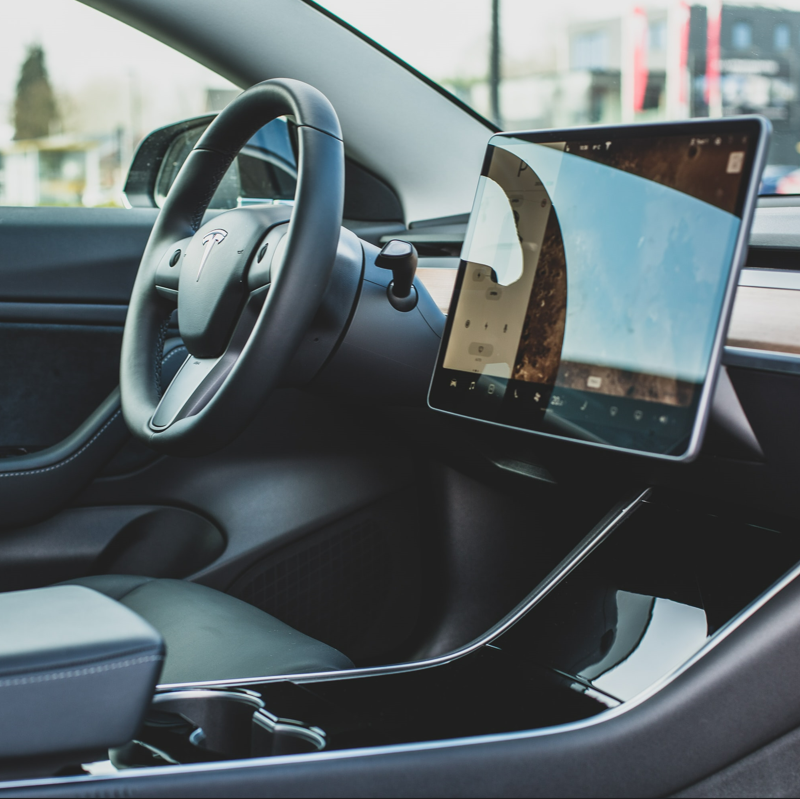
Electric cars make use of predictive maintenance software. If any of the parts need maintenance or replacement, driver gets notified via this software.
It also helps drivers evaluate the performance parameters of vehicle and identify the weak spots. Teslas come with advanced software features which enable longer battery life and higher reliability over the lifespan.
This blog is an insight in to the Tesla software and how to update it.
OTA (Over the Air) Updates
Let’s understand the process of OTA updates before digging deeper into the process of updating Tesla software.
A cloud-based server remotely sends the updates via a Wi-Fi connection to your Tesla. This process is similar to receiving software updates on your laptop or smartphone.
OTA updates bring about continuous improvement in the UI (user interface) and performance. The capabilities of this process allow the company to freshen up their fleets remotely.
Tesla Software Updates
Tesla has been rolling out the software updates consistently over the last decade. But the time for arrival of these updates is not fixed. They are released randomly over the year.
The software updates in two stages, first you download it and then install. As soon as Tesla releases a new over-the-air update it becomes available for downloading.
You can drive freely during the downloading phase, which is signaled by a green download icon on the touchscreen. An uninterrupted Wi-Fi connection is required for smooth downloading.
After the update is fully downloaded, you must install it. During this phase, you cannot drive your car due to safety reasons. You must wait until the software update is fully installed.
It is noteworthy that if you cannot charge your Tesla while an update is installing. Even if a charger was already plugged in the charging process will stop immediately.
How to Check for Software Updates on Your Tesla?
Checking for Tesla software updates is a very simple process:
- Tap ‘Controls’ and then tap ‘Software’ tab on the touchscreen
- When a new update is available, a notification is displayed on the touchscreen.
- It offers two options. Either you can immediately install the update or schedule it for later.
- From the ‘Software’ tab, tap ‘Release Notes’ to check what is offered in the given update.
How to Schedule a Software Update for Later?
There are situations when you can’t sit idle just for the reason that your Tesla is undergoing a software update. To deal with this scenario, you can schedule the update for some other time.
Let us show you how:
- From the software tab on your touchscreen, tap the yellow clock icon. This will display the scheduling window.
- Select the date and time that is the most convenient for you (considering that you won’t be able to drive or charge your car).
- The yellow clock shifts to a white icon which shows that the schedule has been set.
How to Set up Automatic Updates in Your Tesla?
You can free yourself from the hassle of checking and executing updates time and again. Instead you can set up your Tesla to auto update the software version.
Here’s how you can do it:
- Tap ‘Controls’, then go to ‘Software’ and then ‘Software Update Preference’.
- From there you’ll be choosing between two options ‘Advanced’ or ‘Standard’.
- To automatically install any available updates, enable the ‘Advanced’ option.
- Software updates will now take place automatically, subject to the availability of Wi-Fi.
Final Word
In conclusion, updating software version in your Tesla is not challenging at all. Specially, the process becomes more convenient if you use the auto updates option.
To find more informative blogs and tips related to Tesla vehicles, you can visit our website tlyard.com.
Tlyard is an online store and a single stop solution for all the modifications and upgrades you want to make in your Tesla.


